Setting proper ticket priorities in your customer support systems ensures that critical issues receive immediate attention while keeping your helpdesk organized.
There are 2 ways you can set a ticket priority -
- Manually while creating a ticket
- Setting up an automation rules
With AI automation, prioritizing becomes even faster and more accurate
Set ticket priority
When creating a ticket manually, the support agent can choose the priority based on the severity and impact of the issue.
For example, if the impact on the customer are like unable to use the product, blocked workflow may be an high priority but things like feature suggestion, feedback might be a low priority.
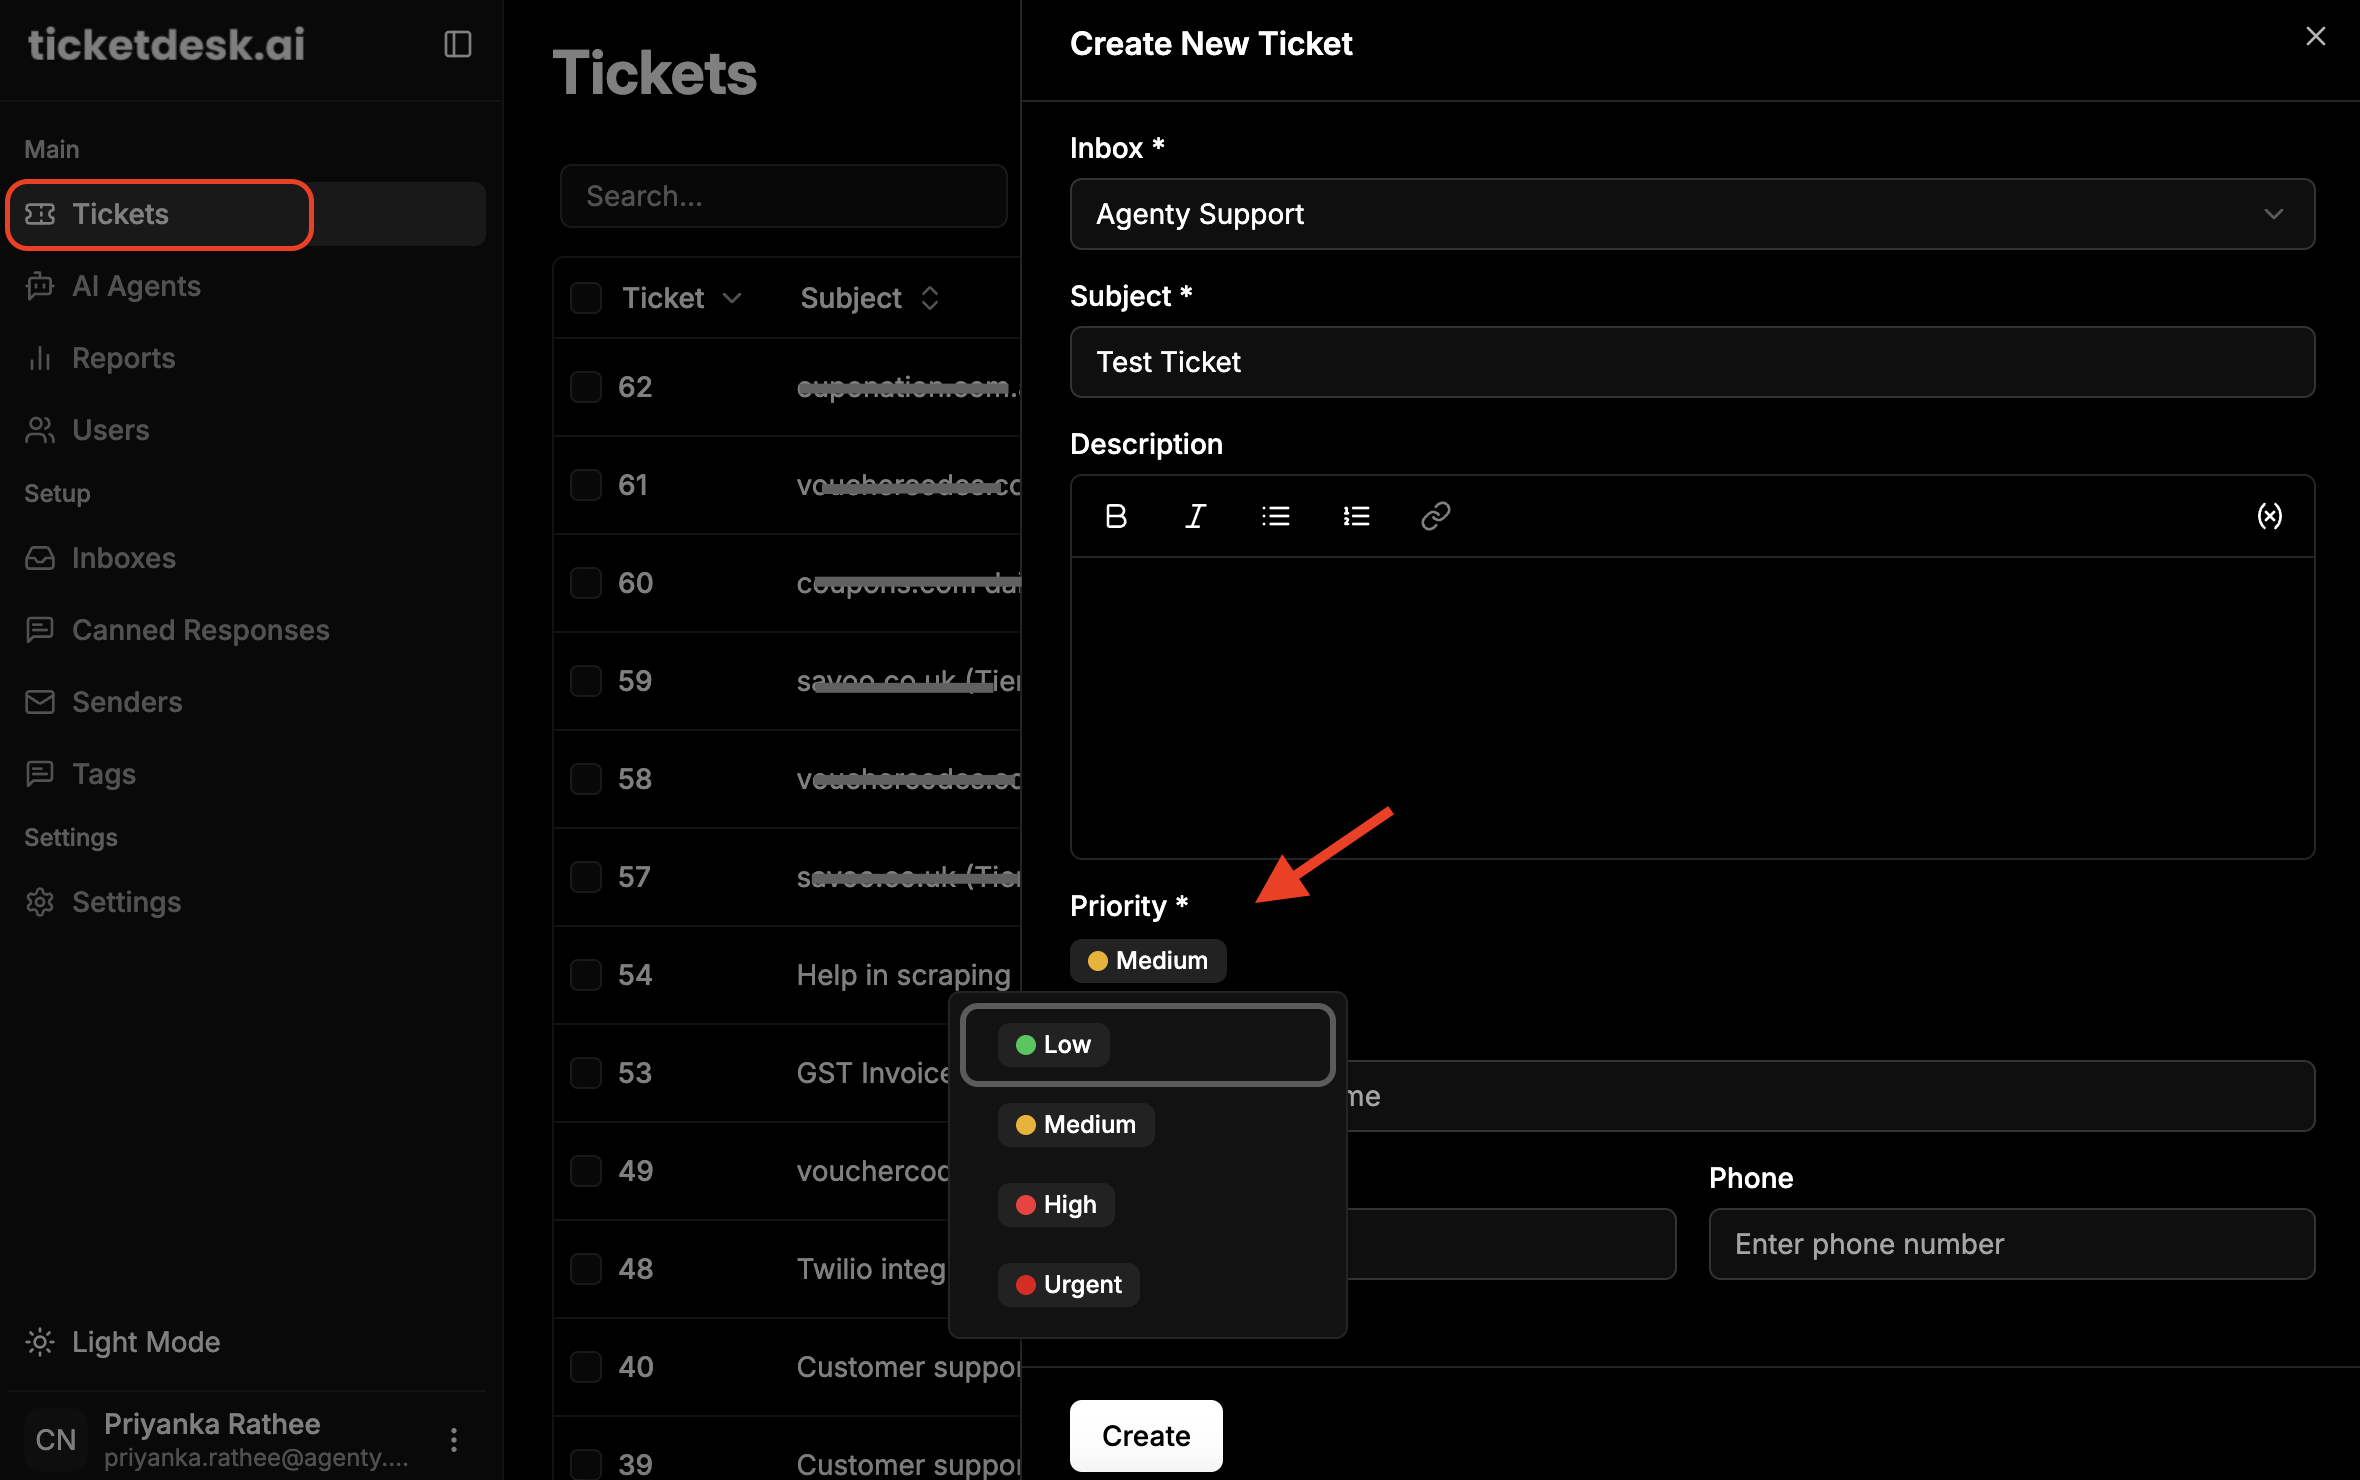
This method gives agents full control to evaluate the situation and select the most appropriate priority while creating the ticket.
Priority options
| Priority | Description |
|---|---|
| Urgent | System outages, security issues, data loss |
| High | User can’t work, VIP customers, revenue impact |
| Medium | Partial functionality loss, standard requests |
| Low | Enhancement requests, general questions |
Priority rules
Automation rules or AI can analyze the incoming customer’s email, detect keywords - for example urgent, not working, payment failed etc. identify sentiment, and automatically assign the most suitable priority.

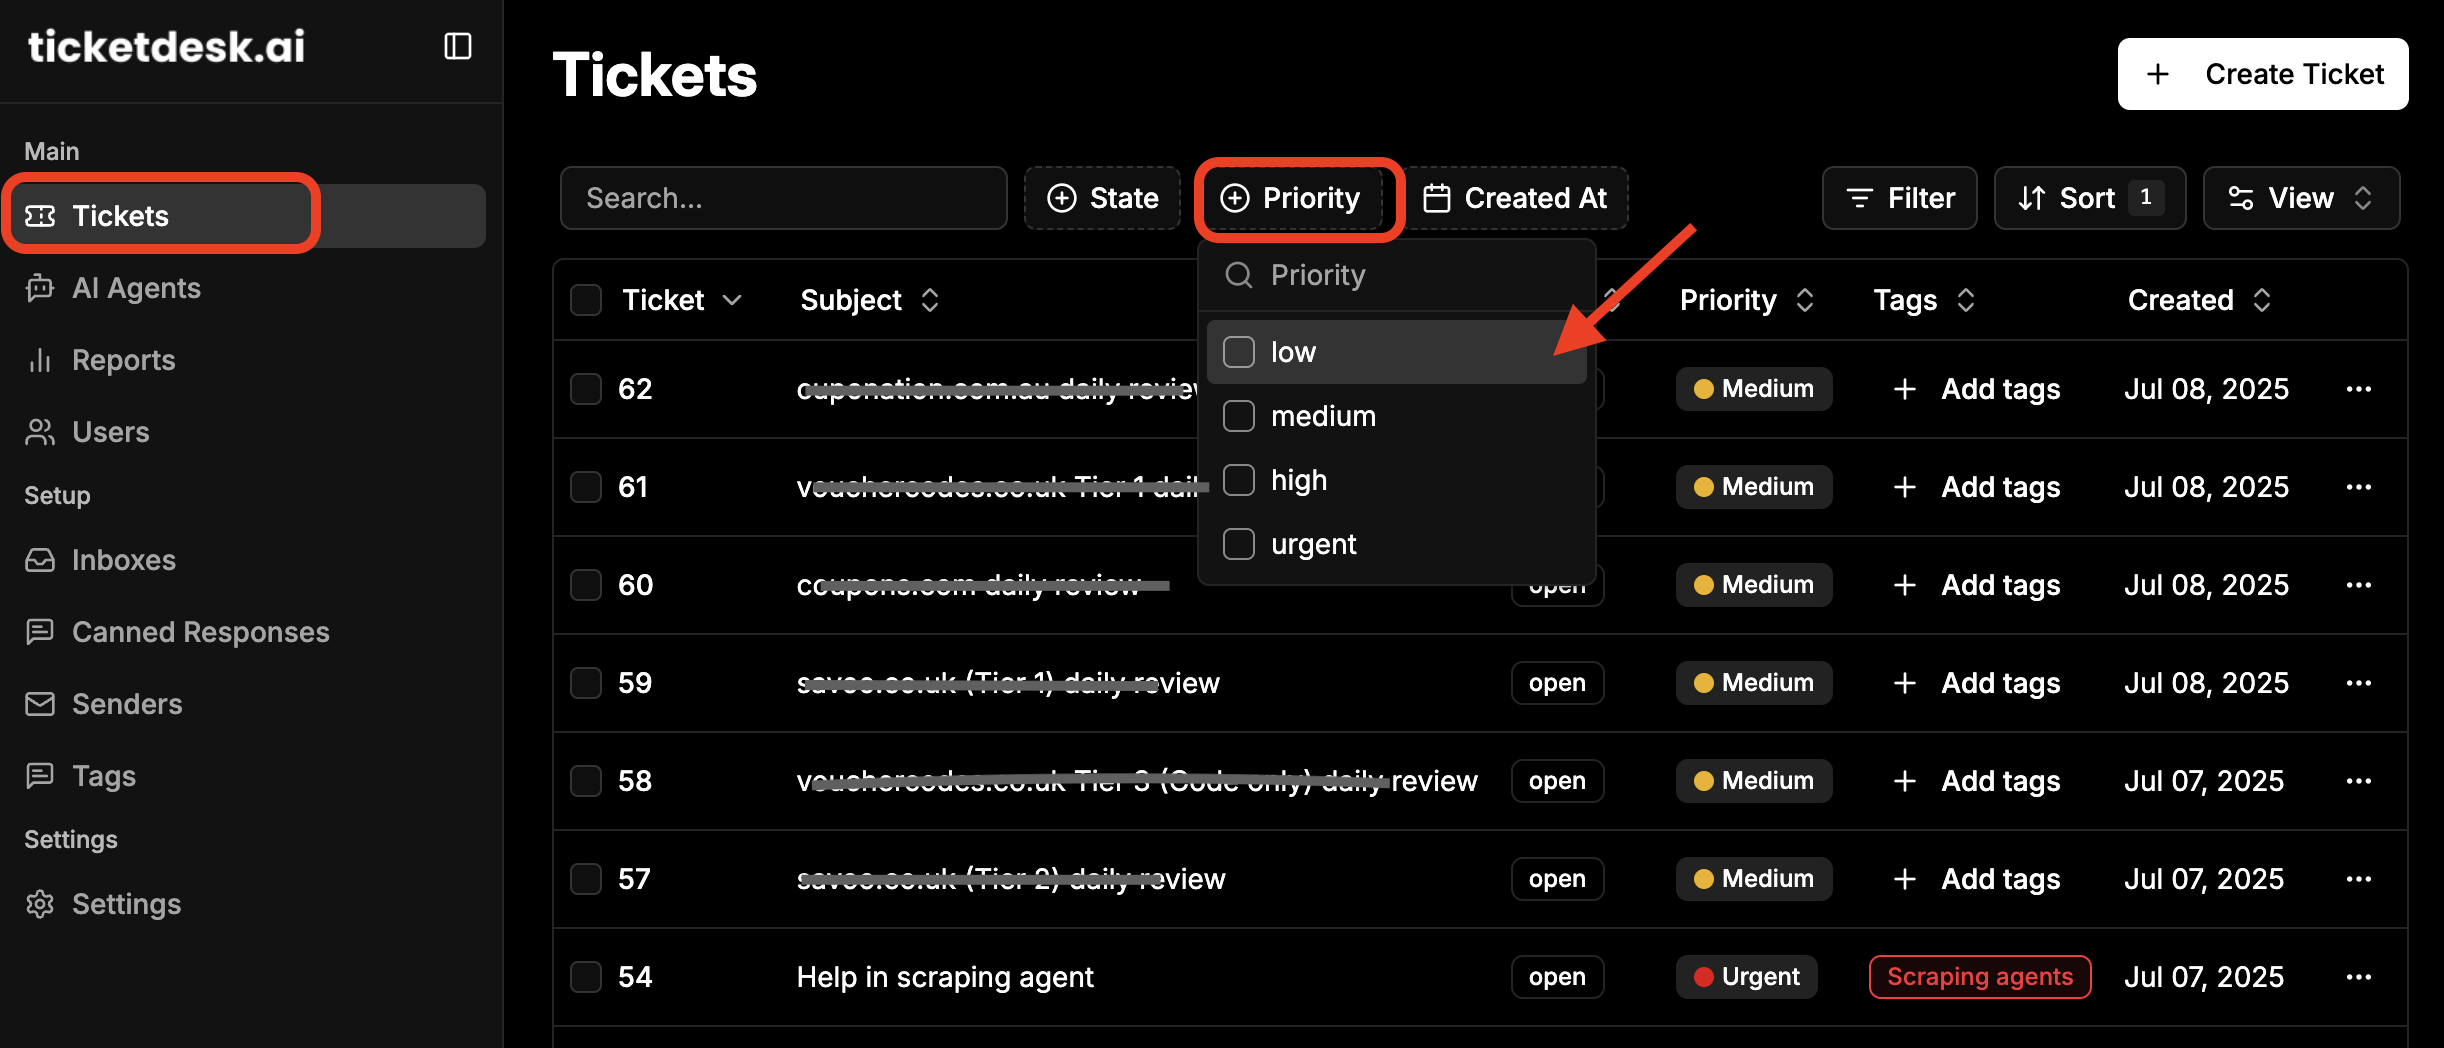
Filter Tickets by Priority
You can easily filter tickets based on their priority level (Urgent, High, Medium, Low) to help support agents focus on the most important issues first.