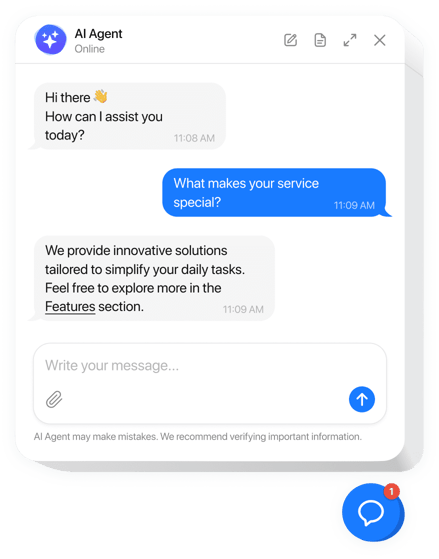
Setting up email forwarding from Google Workspace to Ticketdesk AI allows you to convert inbound customer emails into support tickets automatically. By connecting your business email with a modern Google workspace ticketing system, your support team can manage conversations efficiently, track resolution times, and automate customer responses.
In this guide, I will walk you through the complete process of configuring Google Workspace email forwarding to streamline your help desk workflow.
Why connect Google Workspace with Ticketdesk AI
Using a dedicated Google workspace ticketing system eliminates the chaos of shared inboxes and missed customer inquiries. When an email arrives at your support address, such as support@yourcompany.com, Google Workspace forwards the message to Ticketdesk AI. The platform instantly generates a ticket, extracts customer details, assigns the issue to the appropriate team member, and triggers automated workflows.
Find your Ticketdesk AI inbound email address
Before configuring your Google Workspace account, you need the unique inbound address provided by Ticketdesk AI.
- Log in to your Ticketdesk AI account.
- Navigate to Inboxes.
- Create an Inbox.
- Copy your unique inbox address, which usually looks like -
support-inbox@ticketdesk.ai
Configure email forwarding in Gmail or Google Workspace
You can configure forwarding either through individual Gmail settings for a dedicated support user account or through the Google Workspace Admin Console for routing rules.
Option 1: Forwarding via Google Workspace Admin Console
If you are using a Google Group, alias, or want domain-level routing without logging into an individual inbox:
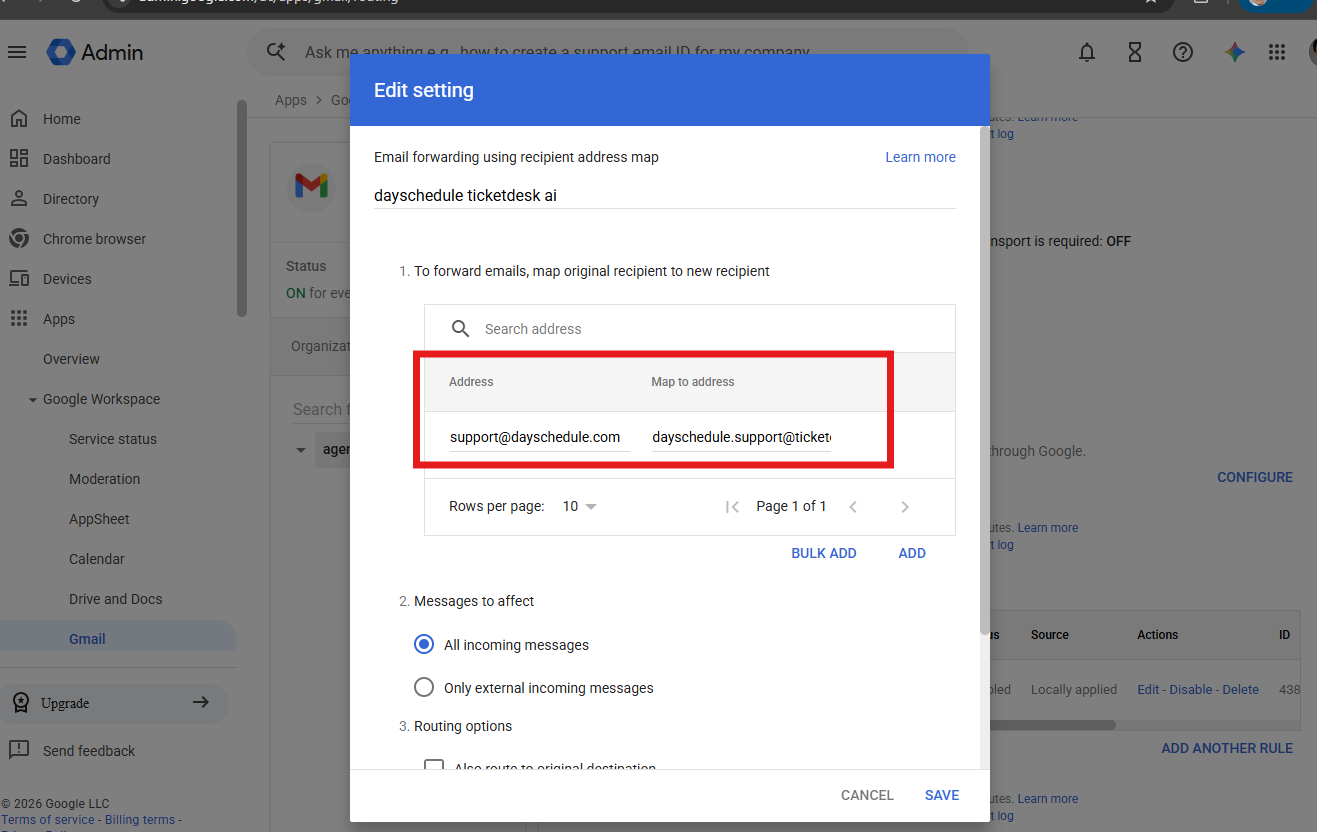
- Sign in to the Google Workspace Admin Console at admin.google.com.
- Go to Menu, select Apps, click Google Workspace, and then select Gmail.
- Scroll down to Email forwarding using recipient address map, and click Configure or Add Another Rule.
- Enter your support address and ticketdesk inbox address in Map to address
- Save the routing rule.
Option 2: Forwarding via standard Gmail settings
If your support email is a standard Google Workspace user mailbox, follow these steps:
- Sign in to the Gmail account associated with your support address.
- Click the gear icon in the top right corner and select See all settings.
- Open the Forwarding and POP/IMAP tab.
- Click Add a forwarding address.
- Paste your Ticketdesk AI inbound email address into the field and click Next, then Proceed.
- A confirmation email with a verification code will be sent to Ticketdesk AI.
- Open your Ticketdesk AI inbox to locate the new ticket containing the Google verification code.
- Return to Gmail, enter the confirmation code, and click Verify.
- Select the option to Forward a copy of incoming mail to your Ticketdesk AI address.
- Choose whether you want to keep a copy in Gmail inbox or mark it as read.
- Scroll to the bottom and click Save Changes.
Automate email responses with Ticketdesk AI agents
Once your Google workspace ticketing system is receiving emails, you can train your AI agent for custom docs, your website, markdown files etc. to answer question relevant to your business on chat, or connect custom advanced models like ChatGPT 5.2, Gemini flash, Claude Opus 4.6 etc.
This enables your team to resolve common repetitive tickets instantly without human intervention while keeping human agents focused on complex issues.
Test your email ticketing setup
After finishing the configuration, perform a test to ensure everything works properly:
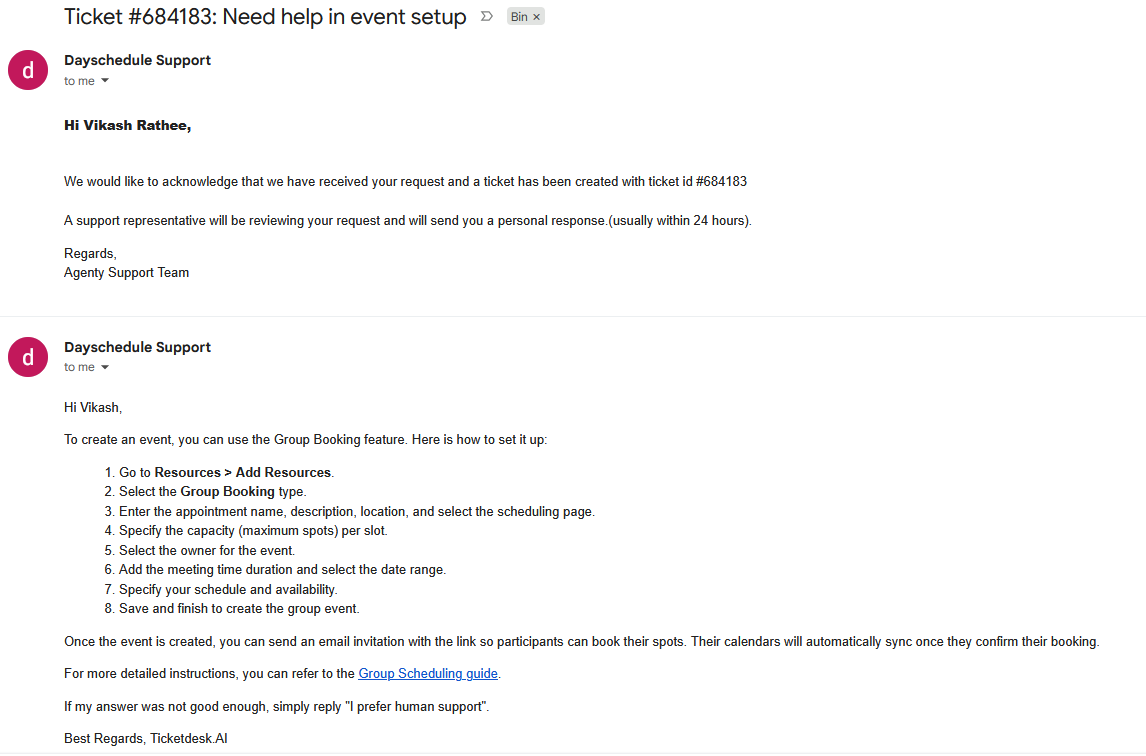
- Send an email from a personal or external email address to your business support email.
- Verify that the email arrives in your Google Workspace inbox.
- Check the Ticketdesk AI dashboard to confirm that a new ticket has been created with the correct subject line, body text, and sender information.
- Reply to the ticket from Ticketdesk AI to ensure outbound delivery to the sender works as expected.