Team and account
Manage your plan, billing and invoices
Updated · View as Markdown
Billing lives on the Billings page in the sidebar. Plans differ in how many AI agents, AI credits, team members, automation rules and training sources you get. Every plan includes reporting and API access.
Compare plans
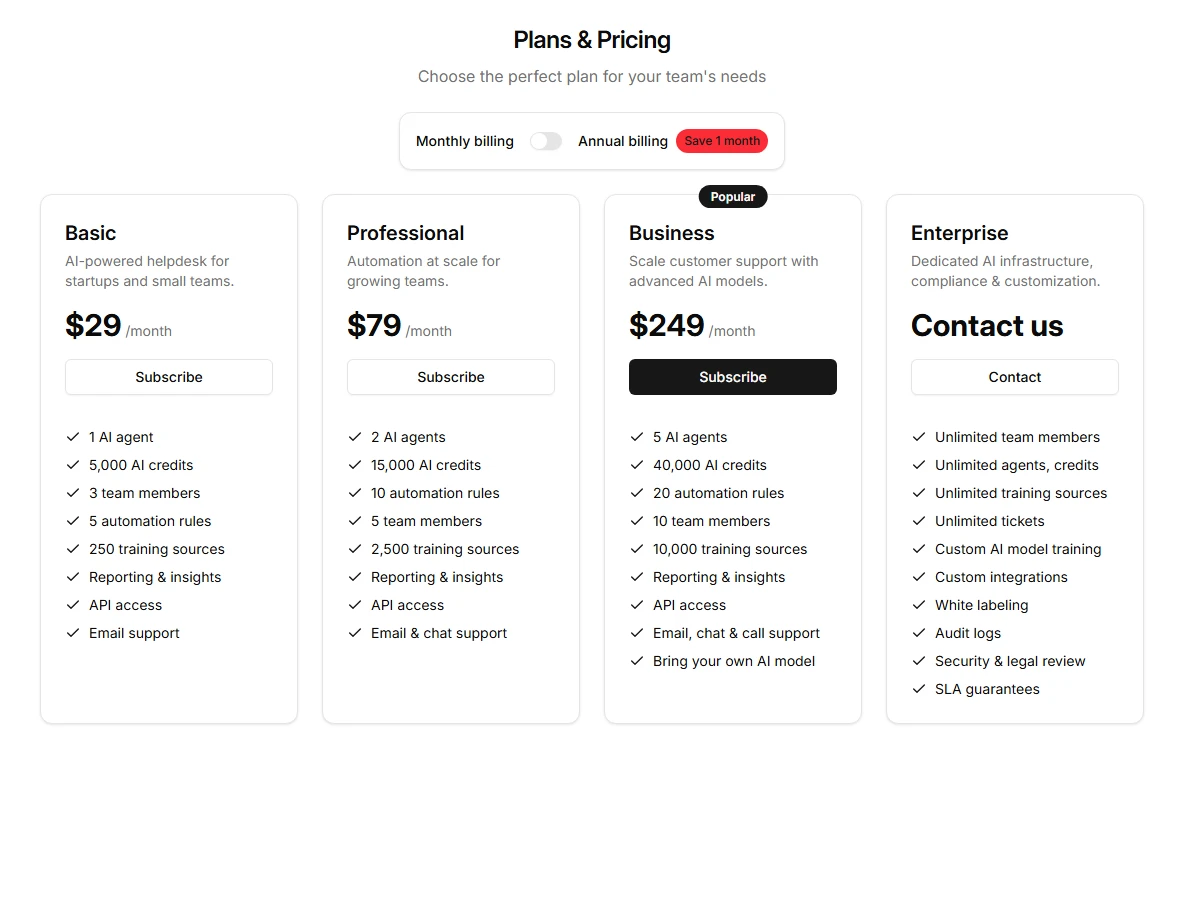
| Basic | Professional | Business | Enterprise | |
|---|---|---|---|---|
| Price per month | $29 | $79 | $249 | Contact us |
| AI agents | 1 | 2 | 5 | Unlimited |
| AI credits per month | 5,000 | 15,000 | 40,000 | Unlimited |
| Team members | 3 | 5 | 10 | Unlimited |
| Automation rules | 5 | 10 | 20 | Custom |
| Training sources | 250 | 2,500 | 10,000 | Unlimited |
| Support | Email and chat | Email, chat and call | Custom | |
| Bring your own AI model | No | No | Yes | Yes |
With bring your own AI model, you connect your own provider with an API key and use models from OpenAI, Anthropic, Google or a custom LLM. Enterprise adds custom AI model training, custom integrations, white labeling, security and legal review, and SLA guarantees. See Enterprise or the pricing page for current prices.
AI credits are used when your AI agents work: replying to tickets and chats, follow-ups and other AI automations. AI jobs and logs shows each AI run with its token count.
Subscribe
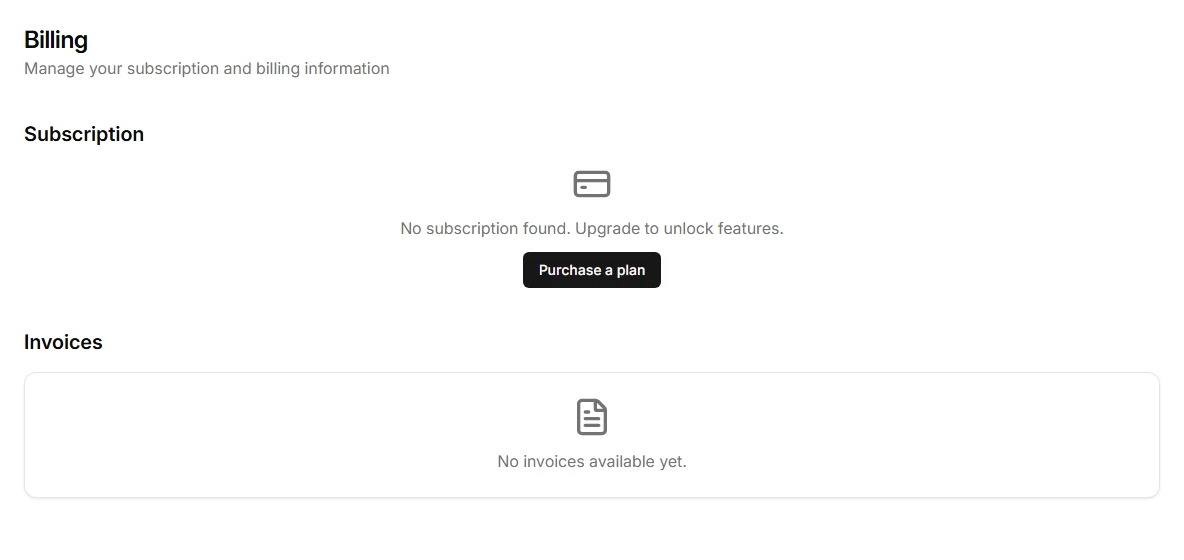
- Open Billings and click Purchase a plan.
- Choose Monthly billing or Annual billing. Annual billing saves one month.
- Click Subscribe on the plan you want and complete the payment.
Add your company name, address and tax ID first if you need them on the invoice, see billing details below.
Change your plan
On the Billings page, the subscription card shows your plan, billing cycle and next billing date. Click Change Plan to move to a bigger or smaller plan. Changes take effect immediately and are prorated. If your team grows past the team member or AI agent limit, this is where you upgrade.
Manage Subscription opens the billing portal, where you can update your payment method.
Download invoices
The Invoices table lists each invoice with its number, date, amount and status. Use the download action to save it as a PDF, named like ticketdesk-invoice-<id>.pdf.
Add billing and tax details
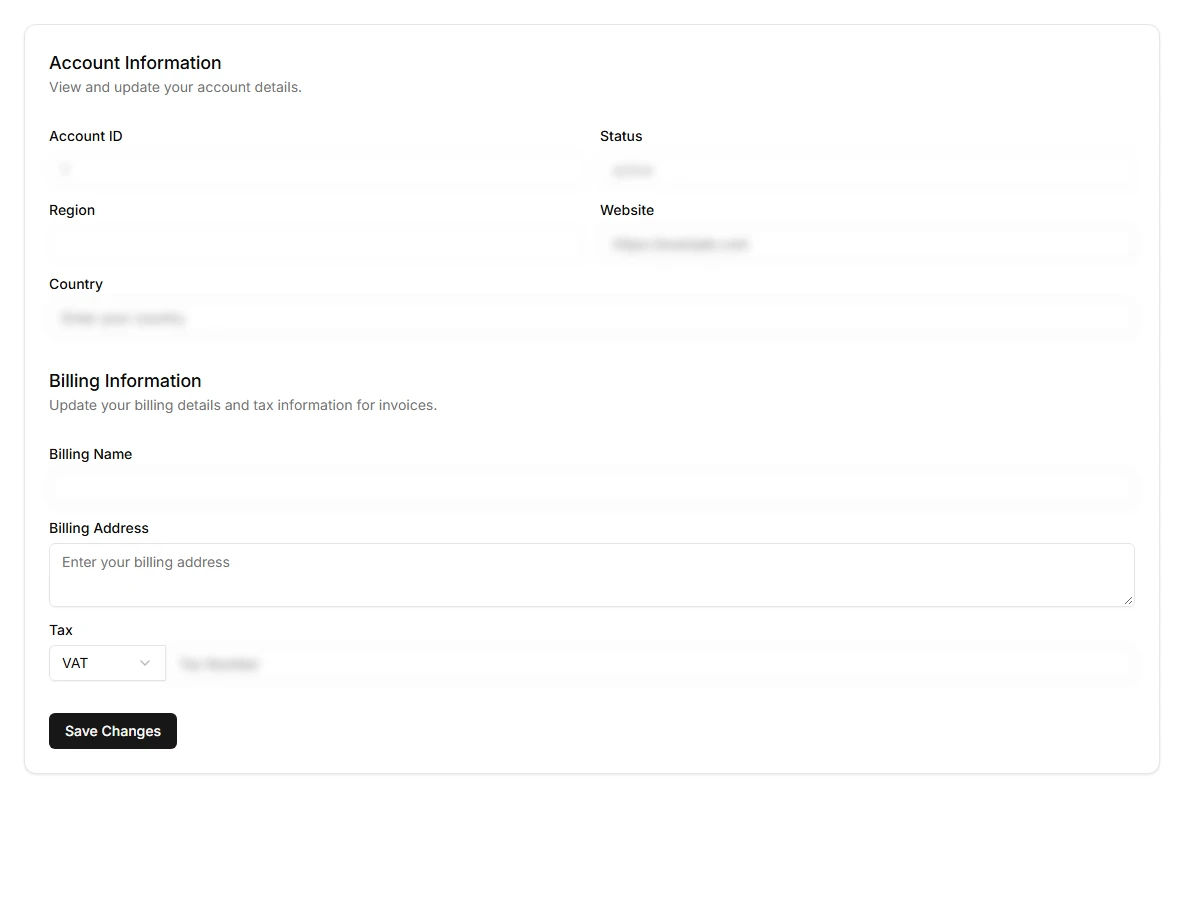
Company details for invoices are on the account page. Open Settings, select My Account, and fill in under Billing Information:
- Billing Name, usually your company's legal name
- Billing Address
- Tax: choose VAT or GST and enter your tax number
Click Save Changes. New invoices use the updated details.
Cancel your subscription
Click Cancel Subscription on the subscription card. Before it confirms, the dialog warns that cancelling deletes your account data: AI agents and their sources, tickets, chats, tags, inboxes, canned responses and reports. Tick the box to confirm you understand, choose a cancellation reason, and submit.
Export anything you need before you cancel. The REST API can list your tickets if you want a copy. To delete your account and data without waiting for the billing cycle, see delete your account.
Questions about an invoice or a refund go to support@ticketdesk.ai.