Get started
Get started with Ticketdesk AI
Updated · View as Markdown
A working setup has three parts: an AI agent that knows your product, an inbox that turns emails into tickets, and a chat widget on your website. The onboarding wizard creates all three when you sign up, and everything it creates can be changed later in Settings.
Sign up and verify your email
Create an account at app.ticketdesk.ai/signup. Ticketdesk AI sends a 6-digit code to your email address. Enter it on the Verify Your Email screen to continue. Nothing else in the app works until the email is verified.
Step 1: Train your AI agent
Give the agent a name, such as "Acme AI", and enter the URL of your website or help center, for example https://example.com/docs. Ticketdesk AI adds the URL as the agent's first training source and reads the pages from it.
Use the page that has the most answers to customer questions. A docs or help center URL usually works better than your home page.
You can add more sources later, such as PDFs, text files and more URLs. See how to train an AI agent and how to create an AI agent for the model, temperature and system prompt settings.
Step 2: Create your inbox
Pick an inbox name, such as "Customer Support", and an email alias, such as support. The inbox gets an address like support@ticketdesk.ai, and every email sent to it becomes a ticket.
Customers don't need to see this address. Forward your existing support address to it instead:
Replies go out from the inbox address by default. To reply from support@yourcompany.com, connect your own email sender.
Step 3: Configure your chatbot
Name the chatbot, add the domains where it may run, and pick a primary color. The widget only loads on the allowed domains, so add every domain you plan to use, including staging sites.
When you finish, the wizard shows the embed code. Paste it before the closing </body> tag of your site:
<script>
  window.TICKETDESK_ID = 'd_xxxxxxxx-s-xxxxxxxxxxxx';
</script>
<script src="https://ticketdesk.ai/ticketdesk-chatbot.min.js" defer></script>
Platform guides: React and Next.js, WordPress, Shopify, Wix and Vue and Nuxt.
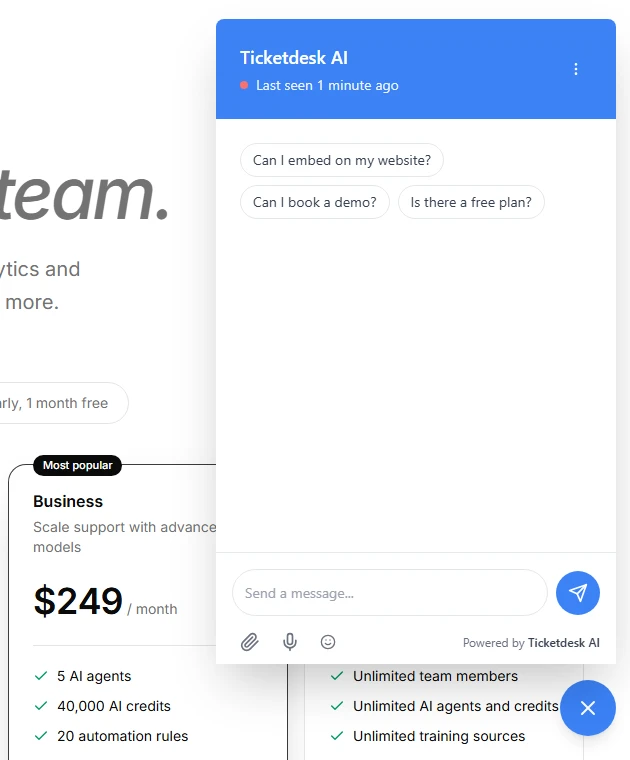
What the wizard turns on
The wizard connects your new agent to both the inbox and the chatbot, so AI replies start right away:
- The agent's AI response automation is enabled, so new email tickets get an AI reply. Adjust the delay, reply mode and handoff in the agent's Automations tab, described in how to automate ticket responses.
- The chatbot's reply mode is set to Always, so the AI answers every chat message. If your team also answers chats, switch to Operator Offline. See hand off chats from AI to a human.
Before you go live, send a few real customer questions to the agent in the playground and check the answers.
Invite your team
Open Users and click Add User to invite teammates by email. Staff can work on tickets and chats, and Owners and Admins can also delete records. See team members and roles.
Where to find things
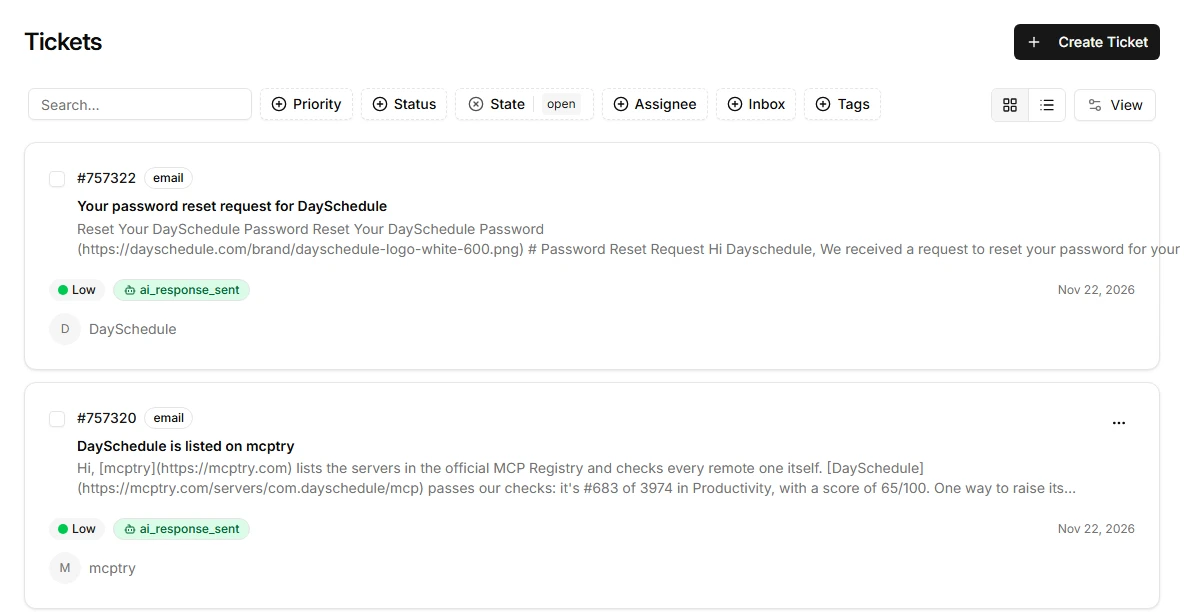
- Tickets lists every email and manually created ticket. See search, filter and bulk update tickets.
- Chats is the live chat inbox for your website widget. See manage live chat conversations.
- Activities is a live feed of AI, team and system events. See the activity feed.
- AI Agents and Jobs are where you train agents and check every AI run. See AI jobs and logs.
- Reports shows volume, response times and AI vs. human activity. See support reports.